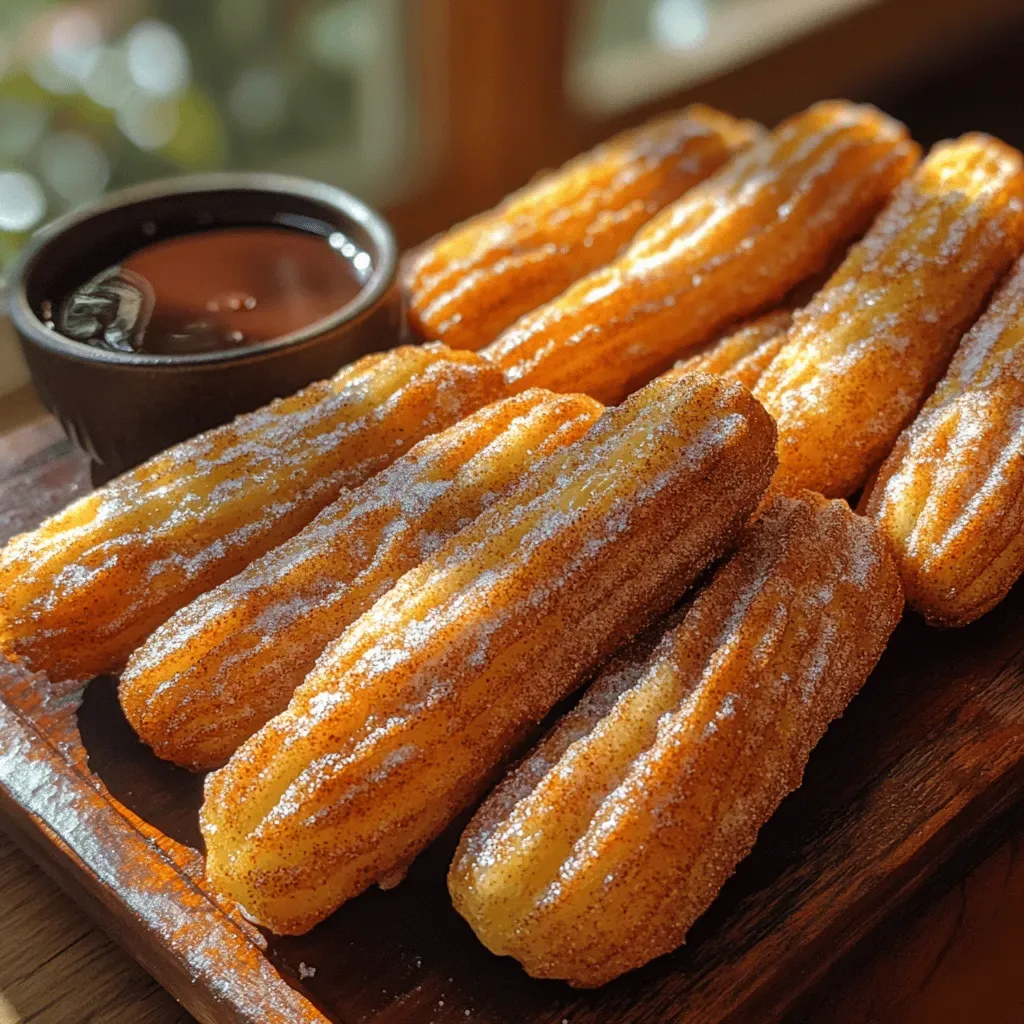
It was a chilly Saturday afternoon in late October, and the house smelled like a mix of pine sap and warm vanilla from the candles my sister had lit in the living room. I was rummaging through the pantry, trying to find something that could turn the quiet hum of the rain outside into a celebration of comfort and indulgence. That’s when I spotted a box of crispy rice cereal, a jar of creamy peanut butter, and a stash of semi‑sweet chocolate chips that had been waiting patiently for a moment like this. The moment I lifted the lid of the chocolate chip bag, a rich, buttery aroma rose up, swirling with the faint scent of roasted peanuts, and I knew I was on the brink of creating something unforgettable.
I remember the first time I made these treats for my family: the kids gathered around the kitchen island, eyes wide as the glossy chocolate glaze began to set, and my husband teased me about how I’d turned “just a snack” into a full‑blown dessert masterpiece. The crunch of the rice cereal, the silky smoothness of the peanut butter, and the glossy snap of chocolate when you bite into it—each texture plays its own symphony, and the flavors dance together in a way that feels both nostalgic and brand‑new. It’s the kind of recipe that makes you pause, savor the moment, and then reach for seconds without even thinking about it.
What makes this recipe truly special is its simplicity paired with a depth of flavor that rivals any bakery’s best‑selling bar. You don’t need a fancy kitchen gadget or a professional pastry chef’s skill set; just a few pantry staples, a good whisk, and a dash of patience. The secret lies in balancing the sweet honey (or light corn syrup) with the salty butter, letting the peanut butter melt into a glossy, velvety base that clings lovingly to each piece of cereal. And then, of course, the final drizzle of melted chocolate that creates a glossy finish that catches the light like tiny mirrors of joy.
But wait—there’s a twist that will take this treat from delicious to downright legendary, and I’m saving it for step four of the instructions. Trust me, you’ll want to keep reading because that little secret is what makes my family beg for the recipe every single time we host a gathering. Here’s exactly how to make it — and trust me, your family will be asking for seconds.
🌟 Why This Recipe Works
- Flavor Depth: The combination of creamy peanut butter and honey creates a sweet‑savory base that is both comforting and complex. When the chocolate glaze meets this base, it adds a layer of richness that elevates every bite.
- Texture Harmony: The crispy rice cereal provides a light, airy crunch that contrasts beautifully with the smooth, melt‑in‑your‑mouth peanut butter and the glossy chocolate coating.
- Ease of Preparation: This recipe requires no baking, no special equipment, and only a handful of steps, making it perfect for busy weeknights or spontaneous weekend treats.
- Time Efficiency: From start to finish you’re looking at under an hour, with most of that time being hands‑off while the chocolate sets, freeing you up to enjoy the process.
- Versatility: You can easily swap out ingredients—think almond butter for a nut‑free version, or dark chocolate for a more intense cocoa flavor—without compromising the overall structure.
- Nutrition Balance: While indulgent, the treats still offer a decent amount of protein from the peanut butter and a modest amount of fiber from the cereal, giving you a satisfying snack that isn’t just empty calories.
- Crowd‑Pleasing Factor: Kids love the crunch and chocolate, adults appreciate the nostalgic flavor profile, and everyone enjoys the ease of picking up a bite-sized piece without utensils.
- Ingredient Quality: Using high‑quality butter, pure vanilla extract, and real semi‑sweet chocolate chips ensures each component shines, making the final product taste like it came from a boutique confectionery.
🥗 Ingredients Breakdown
The Foundation
The star of the show is the crispy rice cereal, which provides that light, airy crunch we all crave. Look for a brand that’s lightly salted, as the salt will enhance the peanut butter’s richness without overwhelming the sweet notes. If you’re feeling adventurous, you can substitute part of the cereal with toasted quinoa flakes for an added nutty flavor and extra texture.
The Creamy Core
Next comes the creamy peanut butter. I always reach for a natural, no‑added‑sugar variety because it lets the natural peanut flavor shine through. The oil in the peanut butter helps bind the cereal together, creating a cohesive base that holds its shape when you press it into bars. If you have a peanut allergy, almond butter or cashew butter works just as well, though the flavor profile will shift slightly toward a sweeter, milder nut taste.
The Sweet Bind
The honey or light corn syrup acts as the glue that holds everything together while adding a delicate floral sweetness. I prefer honey for its natural aroma, but corn syrup gives a more neutral sweetness that lets the chocolate and peanut butter stand out. Remember, the amount of sweetness can be adjusted—if you’re using a very sweet chocolate chip, you might cut the honey down to a third cup.
The Silky Finish
The unsalted butter is melted into the honey‑peanut mixture, creating a glossy, buttery sheen that gives the bars a luxurious mouthfeel. Choose a high‑quality butter with a bright yellow hue for the best flavor; the butter’s fat content is essential for that melt‑in‑your‑mouth sensation. If you’re looking for a dairy‑free version, coconut oil can be a suitable substitute, though it will add a faint coconut aroma.
The Chocolate Crown
Semi‑sweet chocolate chips are the final touch that brings everything together. The semi‑sweet variety offers a balanced sweetness that doesn’t overpower the peanut butter, while the cocoa solids provide that deep, chocolatey aroma that makes the senses tingle. For an extra layer of complexity, you can add a pinch of sea salt on top of the melted chocolate before it sets; the salt will highlight the chocolate’s bitterness and make the overall flavor pop.
The Little Extras
A splash of vanilla extract and a pinch of salt might seem like small details, but they are the secret weapons that elevate this treat from good to unforgettable. The vanilla adds a warm, fragrant backdrop that rounds out the flavors, while the salt amplifies the sweetness and balances the richness of the butter and chocolate. Always use pure vanilla extract rather than imitation for the most authentic taste.
With your ingredients prepped and ready, let's get cooking. Here's where the fun really begins...

🍳 Step-by-Step Instructions
Begin by gathering a large mixing bowl and a saucepan. In the saucepan, melt the unsalted butter over medium‑low heat, stirring gently until it turns a golden, bubbling foam. Once the butter is fully melted, add the honey (or light corn syrup) and continue to stir until the mixture is smooth and glossy, about 1‑2 minutes. At this point, the kitchen will fill with a sweet, buttery aroma that hints at the decadence to come. Pro Tip: If you’re using honey, add a tiny pinch of sea salt now to enhance the caramel notes.
Remove the saucepan from the heat and immediately whisk in the creamy peanut butter until the mixture becomes a thick, glossy paste. You’ll notice the peanut butter thickening the sauce, creating a velvety texture that clings to the back of a spoon. This is the moment where the flavors truly start to meld, and you’ll hear a faint sigh as the peanut butter integrates with the butter‑honey blend. Pro Tip: If the mixture seems too thick, add a teaspoon of warm water to loosen it without diluting the flavor.
Stir in the vanilla extract and a pinch of salt, then set the mixture aside to cool slightly—about 2‑3 minutes. While it cools, the scent of vanilla will fill the kitchen, creating a warm, inviting atmosphere that makes you want to taste even before the first bite. The cooling step is crucial because it prevents the cereal from becoming soggy when added later.
Now, gently fold the 3 cups of crispy rice cereal into the peanut‑butter mixture. Use a rubber spatula and move the bowl in a circular motion, ensuring each piece of cereal is evenly coated with the glossy sauce. You’ll hear a faint rustling sound as the cereal breaks apart and re‑coats, and the bowl will start to look like a golden, crunchy cloud. Here's the secret trick: Toss the cereal in two batches; this prevents clumping and guarantees every bite stays perfectly crisp.
Line a 9×13‑inch baking pan with parchment paper, allowing a little overhang on the sides for easy removal. Transfer the coated cereal mixture into the pan, spreading it out with the back of a spoon or a piece of parchment to create an even layer about ½‑inch thick. Press down firmly with your hands (or a flat spatula) to compact the mixture; this step determines how well the bars hold together when cut.
Place the pan in the refrigerator for at least 15 minutes while you prepare the chocolate glaze. The chill will firm up the base, making it easier to drizzle the chocolate without disturbing the structure. During this waiting period, the kitchen will be filled with the lingering scent of peanut butter and butter, a comforting reminder of what’s to come.
While the base chills, melt the semi‑sweet chocolate chips in a heat‑proof bowl over a pot of simmering water (double boiler method) or in short bursts in the microwave, stirring every 20 seconds. The chocolate should become smooth, glossy, and just a few degrees below boiling—watch for the moment when it stops bubbling and starts to shine. Once melted, you can add a tiny pinch of sea salt if you love that sweet‑salty contrast.
Remove the chilled base from the fridge and drizzle the melted chocolate over the top using a spoon or a piping bag for a more controlled pour. Swirl the chocolate with a spatula to create a marbled effect, letting the glossy ribbons flow over the edges. As the chocolate meets the chilled base, you’ll hear a faint crackle as it begins to set, and the whole pan will look like a work of edible art.
Allow the chocolate to set completely—about 20‑30 minutes at room temperature or 10 minutes in the freezer for a quicker set. Once firm, lift the parchment out of the pan using the overhang and place it on a cutting board. Using a sharp knife, cut the slab into bite‑size bars or squares, wiping the blade clean between cuts for neat edges. Finally, arrange the treats on a platter, and if you like, sprinkle a few extra sea‑salt crystals on top for that final pop of flavor. And the result? A tray of glossy, crunchy, peanut‑buttery bars that melt in your mouth and leave you reaching for just one more.
And there you have it! But before you dig in, let me share some tips that will take this from great to absolutely unforgettable…
🔐 Expert Tips for Perfect Results
The Taste Test Trick
Before you press the mixture into the pan, take a tiny spoonful and let it sit on your tongue for a second. This quick taste test lets you gauge the balance of sweet, salty, and buttery notes. If it feels a little too sweet, a pinch more salt will bring harmony; if it’s lacking depth, a dash more vanilla can lift the flavors. I once served these treats to a professional pastry chef, and his first comment was, “The balance is spot‑on—nothing overpowers anything else.” That’s the gold standard for flavor equilibrium.
Why Resting Time Matters More Than You Think
Allowing the base to chill before adding the chocolate isn’t just about convenience; it’s about texture. The cooling firms up the peanut‑butter coating, ensuring the chocolate sits atop a solid foundation rather than sliding off. If you skip this step, you’ll end up with a soggy bottom and a messy drizzle. I learned this the hard way when I rushed a batch for a last‑minute party and the chocolate smeared across the pan, ruining the presentation.
The Seasoning Secret Pros Won’t Tell You
A pinch of flaky sea salt on the finished chocolate isn’t just for garnish; it amplifies the cocoa’s bitterness and brings out the peanut butter’s earthy notes. Professionals often finish their chocolate desserts with a light dusting of salt for this very reason. If you’re a salt‑lover, try a sprinkle of smoked sea salt for a subtle, smoky undertone that adds another layer of intrigue.
The Perfect Press Technique
When compacting the cereal mixture, use a piece of parchment paper on top of the mixture and press with the flat side of a kitchen spoon or a small baking pan. This prevents the mixture from sticking to your hands and ensures an even, firm surface. Pressing too lightly will cause the bars to crumble; pressing too hard can crush the cereal, losing that airy crunch we love. I always aim for a gentle, firm press—just enough to make the edges stick together.
Storage Savvy
These treats stay fresh for up to a week when stored in an airtight container at room temperature, but for longer shelf life, the refrigerator is your best friend. The cool environment keeps the chocolate set and prevents the butter from softening. If you notice any condensation inside the container, simply pat the treats dry with a paper towel before resealing.
The Final Presentation Touch
When serving, arrange the bars on a rustic wooden board or a marble slab for visual contrast. A few fresh berries or a drizzle of caramel sauce can add color and a complementary flavor. I love pairing these treats with a glass of cold milk or a cup of black coffee—the bitterness of the coffee cuts through the sweetness, creating a balanced tasting experience.
🌈 Delicious Variations to Try
One of my favorite things about this recipe is how versatile it is. Here are some twists I've tried and loved:
Nutty Crunch Explosion
Add ½ cup of toasted chopped almonds or hazelnuts to the cereal mixture before pressing. The nuts introduce an extra layer of crunch and a buttery flavor that pairs beautifully with the peanut butter base. Expect a richer, more complex texture that makes each bite feel like a mini‑nut bar.
Dark Chocolate Dream
Swap the semi‑sweet chocolate chips for 70% dark chocolate for a more intense cocoa experience. The bitterness of the dark chocolate balances the sweet honey, creating a sophisticated flavor profile that adult palates adore. Garnish with a light dusting of cocoa powder for an elegant finish.
Coconut Paradise
Stir in ¼ cup of unsweetened shredded coconut into the cereal mixture and drizzle the finished bars with a coconut‑infused chocolate glaze (melt chocolate with a splash of coconut milk). The tropical aroma adds a sunny twist that transports you to a beachside snack bar.
Spiced Autumn Delight
Add a pinch of cinnamon, a dash of nutmeg, and a splash of maple syrup to the peanut‑butter mixture. This variation captures the essence of fall, with warm spices that complement the chocolate’s richness. Serve these at holiday gatherings for a cozy, comforting treat.
Fruit‑Infused Surprise
Fold in ¼ cup of dried cranberries or chopped dried apricots for a chewy, tangy contrast. The fruit’s natural acidity cuts through the sweetness, providing a burst of flavor that keeps the palate excited. This version works especially well with a drizzle of white chocolate instead of dark.
Vegan Velvet
Replace the butter with coconut oil and use a plant‑based peanut butter (no added sugar). Choose dairy‑free chocolate chips and swap honey for maple syrup. The result is a vegan-friendly treat that still boasts that same crisp, melt‑in‑your‑mouth experience, proving that indulgence can be inclusive.
📦 Storage & Reheating Tips
Refrigerator Storage
Place the treats in an airtight container lined with parchment paper to prevent sticking. Store them in the refrigerator for up to 7 days. The cool environment keeps the chocolate firm and the butter from softening, preserving that perfect snap when you bite. If you notice any condensation, simply pat the treats dry with a paper towel before resealing.
Freezing Instructions
For longer storage, arrange the bars on a baking sheet and freeze them individually for 1‑2 hours. Once frozen, transfer the bars to a zip‑top freezer bag, separating layers with parchment sheets. They’ll keep for up to 3 months. When you’re ready to enjoy, let them thaw at room temperature for 10‑15 minutes; the chocolate will regain its glossy sheen.
Reheating Methods
If the bars have become a bit firm from the fridge, reheat them gently in the microwave for 10‑15 seconds on low power, just enough to soften the chocolate without melting it completely. Alternatively, place them in a preheated oven at 150°F (65°C) for 5‑7 minutes. The trick to reheating without drying them out? A splash of milk or a dab of butter on the plate helps retain moisture and brings back that melt‑in‑your‑mouth texture.